- All checklists
- SEO
- The WordPress website launch checklist
The WordPress website launch checklist
Ensure your WordPress site is launch-ready with this comprehensive checklist. It covers design, plugins, and marketing, focusing on content optimization, site speed, HTTPS, and multimedia. Ideal for marketers, business owners, and freelancers.

- Obtain a license for the theme
- Respect your privacy policy and terms of service
- Make sure the URL format is relative
- Set up the time zone
- Attach a terms and conditions page
- Enable a cookie warning
- Follow any additional local requirements
- Delete old, inactive files and surplus plugins
- Test the responsiveness
- Review your mobile rating
- Connect your email provider
- Watch the loading time
- Test site speed and performance
- Activate caching plugin
- Integrate website with LiveAgent
- Add your website to Google Search Central
- Activate the SSL Certificate
- Enable HTTPS
- Turn on a backup plugin
- Install an anti-spam plugin
- Control admin email address
- Activate login protection
- Create a strong password
- Validate HTML and CSS
- Check form entries for spam
- Link header logo to the homepage
- Set and test contact forms
- Confirm form submissions
- Test autoresponders
- Place and check social icons
- Integrate design with social media channels
- Don’t forget about favicons
- Double-check all company details
- Add awards and reviews
- Content checkup
- Delete dummy content
- Proofread grammar and spelling
- Include a copyright notice
- Add relevant multimedia files: video, audio, images
- Format the text
- Create print page design
- Detect any broken links
- Open external links in a new tab
- Check files for download
- Create an RSS feed
- Design a 404 page
- Test your website on every browser and device
- Check external tools functionality
- Check your newsletter signup list
- Turn on monitoring with Google Analytics
- Launch announcement social post
- Check accessibility
After months of designing and building your site, it’s finally ready to launch. Make sure everything is prepared before going public.
You can use this checklist to tick off all the elements you might have forgotten. Doing this will set you up for success.
The importance of a WordPress website launch checklist
Launching a WordPress website can be overwhelming, especially if it’s your first time. One way to make sure your site is ready for launch is going through our WordPress Website Launch Checklist.
Our checklist covers aspects from web design and development through plugin configuration to marketing. Check off completed tasks and stay on top of your game.
Pst! When your website is ready for launch but you still want to tweak its SEO, use our WordPress SEO Checklist to push it to the top of search engine rankings.
Who can benefit from the WordPress website launch checklist?
Our checklist is beneficial for everyone who wants to make sure their website is ready for launch:
- marketers
- business owners
- web designers
- freelancers
How to launch a WordPress site
Tech check-up
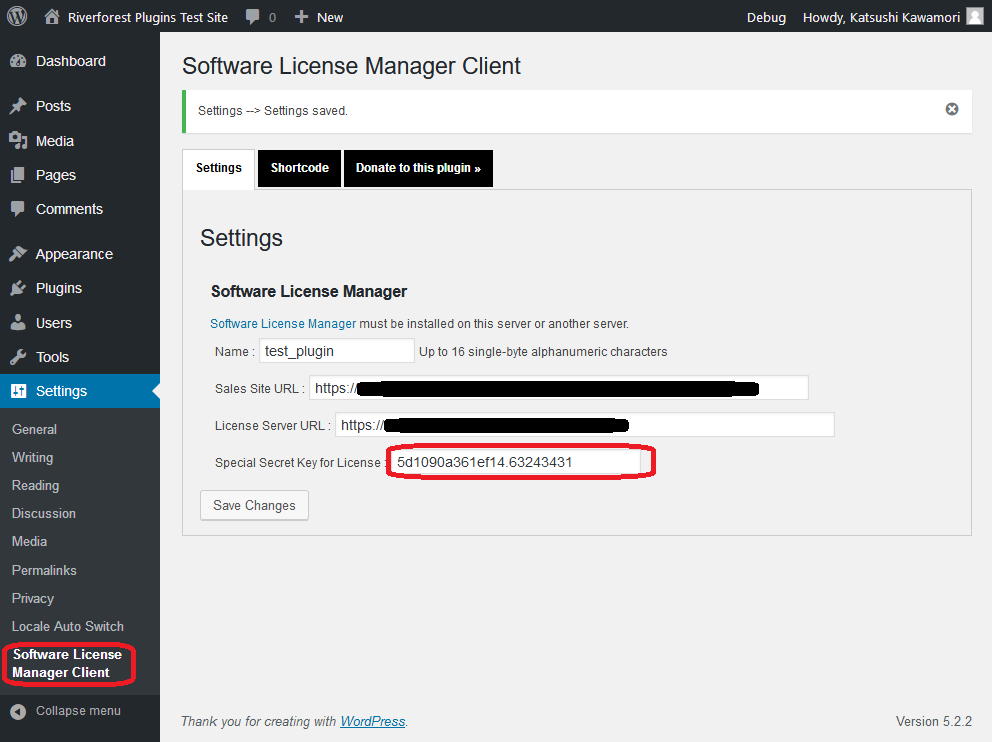
Obtain a license for any WordPress plugins used on your site. Ensure they are compatible with the latest version of WordPress and that there are no security issues associated with them. Go through each premium plugin on your site and see if you’ve activated it with a license key.
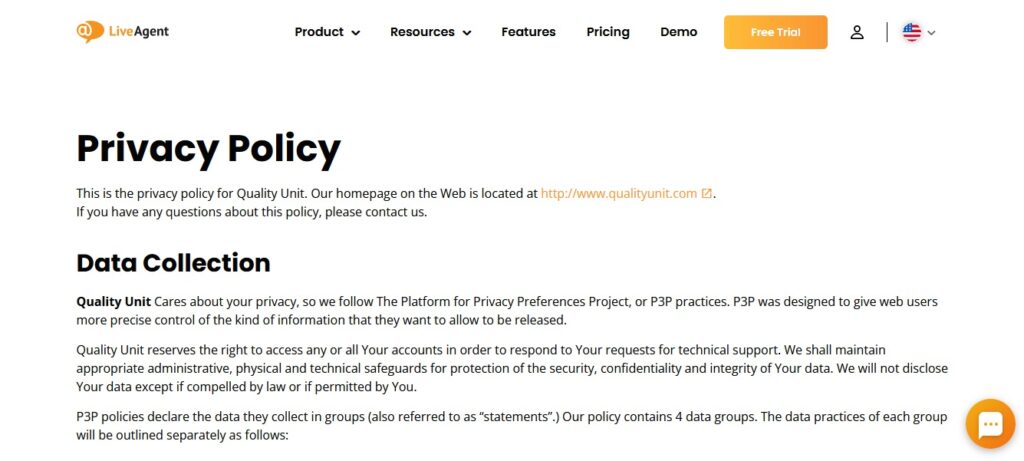
Ensure that your website’s privacy policy and terms of service are up to date and compliant with GDPR rules if it collects any data from users. Many free terms and conditions templates are available online, making it easy to keep your website in line with current regulations and create a solid legal foundation. Check for legal documents on your website, like an acceptable use policy or terms of service, and make sure you have a disclaimer.
When updating a lot of pages, consider adding the Yoast plugin that will do it automatically. It is compatible with all WordPress themes and can be used with free and premium plugins.
If you’re using custom permalinks, ensure they are still valid and have not been changed when you upgraded to the latest version of WordPress. A custom URL structure, such as mysite.com/blog or mysite.com/category/post-name should be relative, meaning it will still work properly if someone visits your website from a different location.
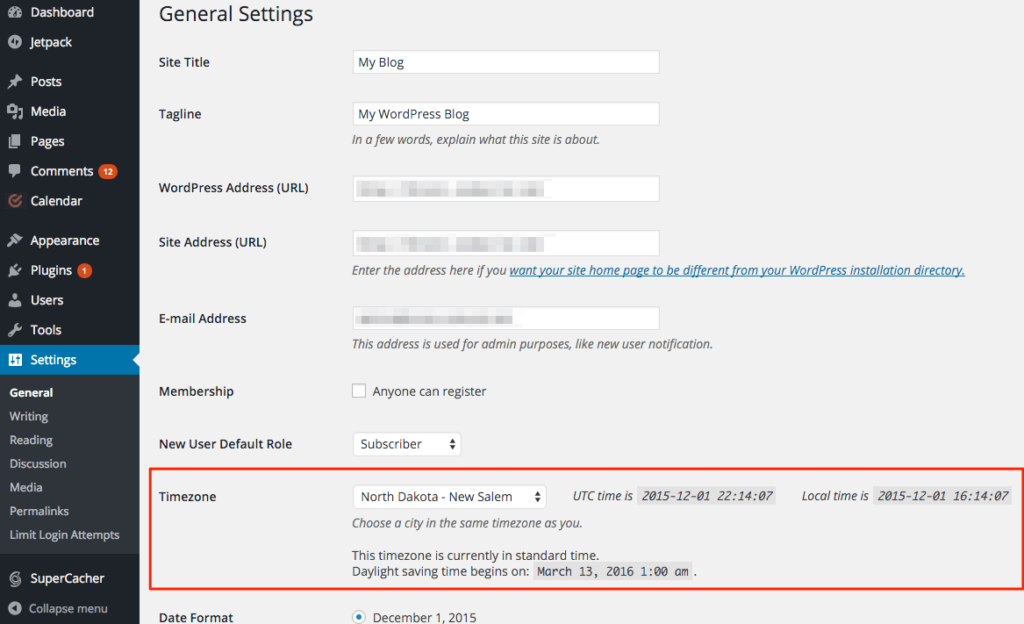
If you use the default WordPress timezone setting, make sure it’s correct. Setting up a custom time zone in your website’s configuration panel would be the best option so that users around the world can read and publish content at their local time. Some WordPress themes may also use their own methods of formatting timestamps and dates, so check the theme’s documentation.
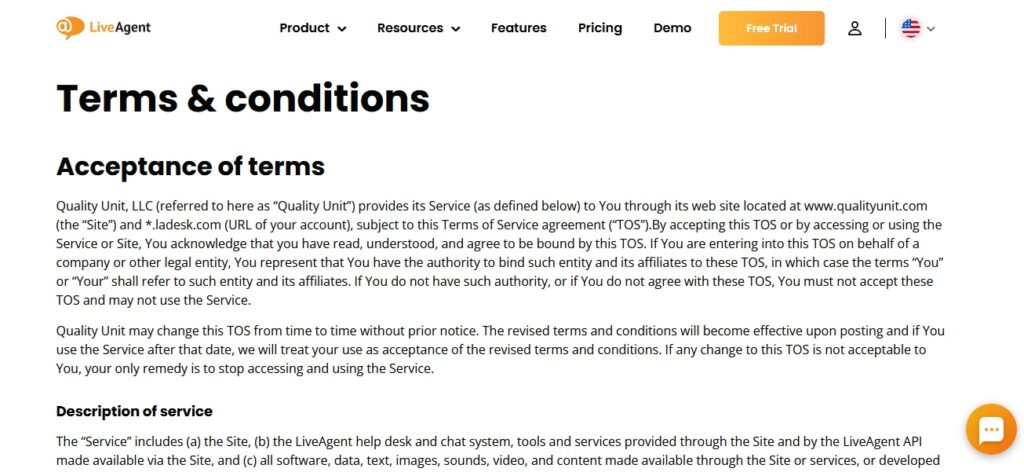
If you have a terms and conditions page, make sure to attach it properly so that all users can access it before submitting their personal data.
If you are using cookies on your website, make sure to enable a relevant warning message. It will inform visitors that your site uses cookies so they can accept or decline.
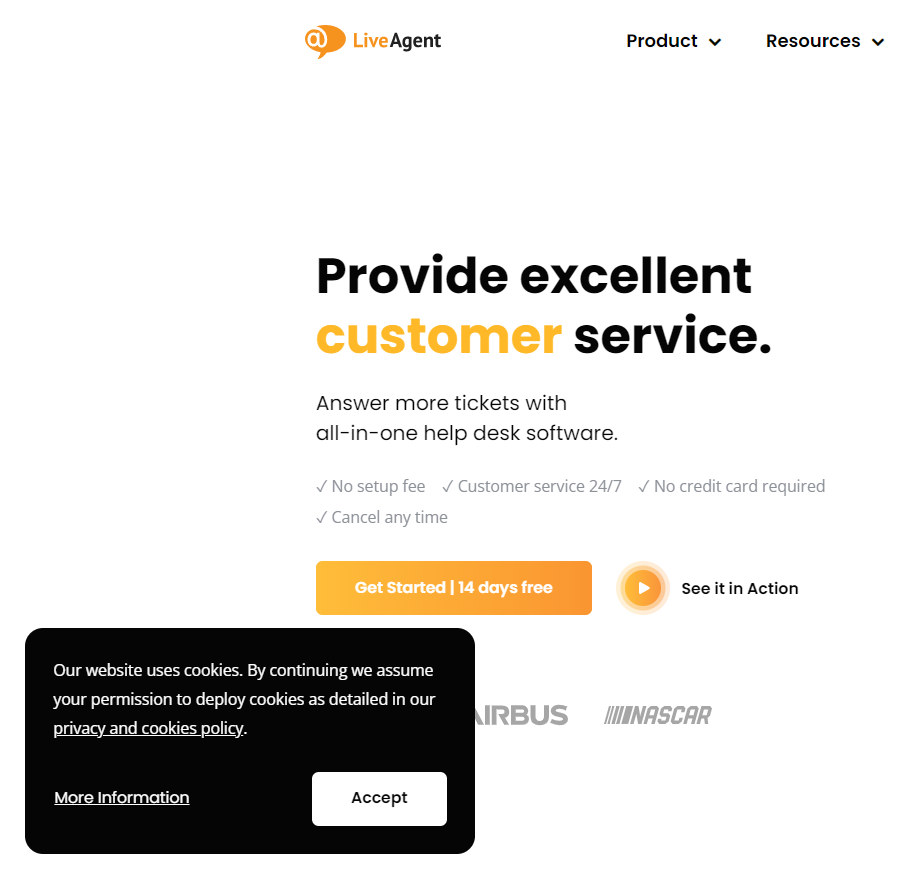
Avoid having visitors report your site as “not secure” because it uses cookies without disclosing.
Depending on your location, you might have to follow some additional local requirements.
Some countries require that your WordPress website be hosted on servers physically located in the country, while others only allow sites with local content to use their services. However, some governmental bodies might even ask you not to launch a self-hosted site at all.
This information will often be covered by the agreement you sign with your web host.
If you have been using the same hosting solution for a while, your WordPress website might be filled with old files and plugins that no longer work. Remember not to delete anything related to your current active site until it has been fully launched. However, if there’s an inactive folder or plugin that can be safely removed, now is a good time to do so.
One of the most important aspects of having a good WordPress website is responsiveness. It should work well no matter what type of device it’s accessed from, and your pages should resize themselves to fit any screen size.
Not all themes are fully responsive by default, so try accessing yours on different devices before launching. If it’s not responsive, you can switch themes or try finding a more flexible one in the WordPress plugins directory.
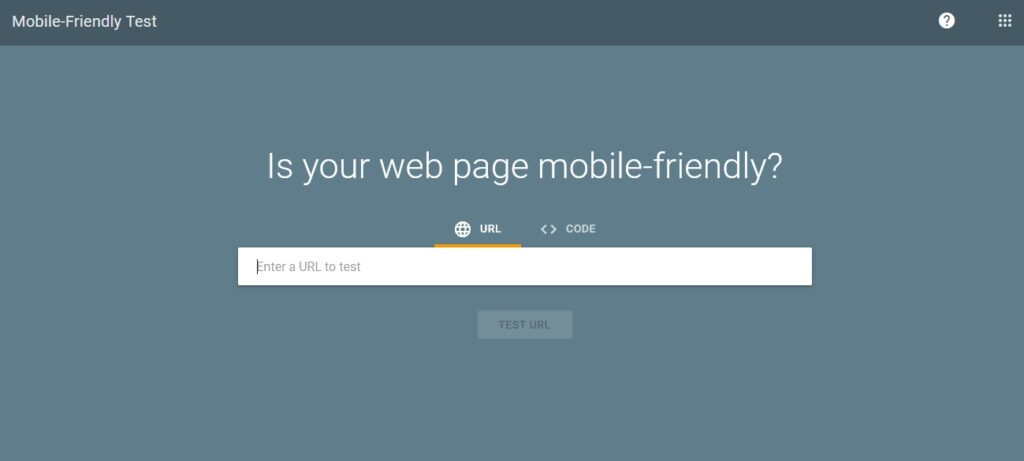
Check your website’s mobile rating with Google’s Mobile-Friendly Test. This will tell you how easy it is for people using smartphones and other mobile devices to access your site. If the results aren’t good, there are a few things you can do to improve them:
- make sure your site’s font is readable without zooming
- use larger buttons and tap targets
- place links far enough apart that they’re easy to click with a finger
Before launching your site, connect its domain with the email provider you use. All new emails sent from it will be forwarded to your main inbox.
As your WordPress website will have more images, videos, and other media, you should pay attention to its load time. If visitors are forced to wait too long for content or elements of the page to load, they might leave instead of sticking around. Make sure your WordPress website doesn’t take too long to load, especially if it’s a high-traffic site.
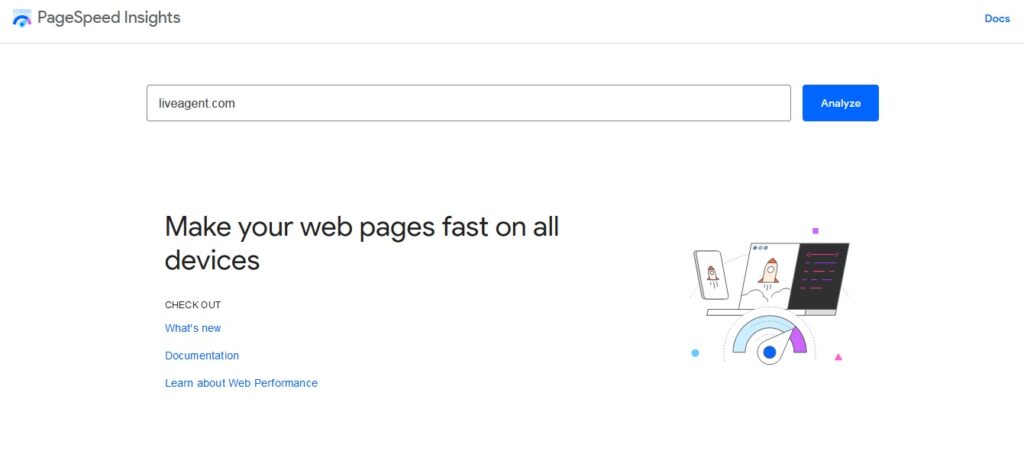
Optimize your server-side configurations for a short response time by using a tool like Google’s PageSpeed Insights or Pingdom Tools. They will tell you how fast each element of your site loads, which pages might need to be improved, and what resources are being loaded at a given moment.
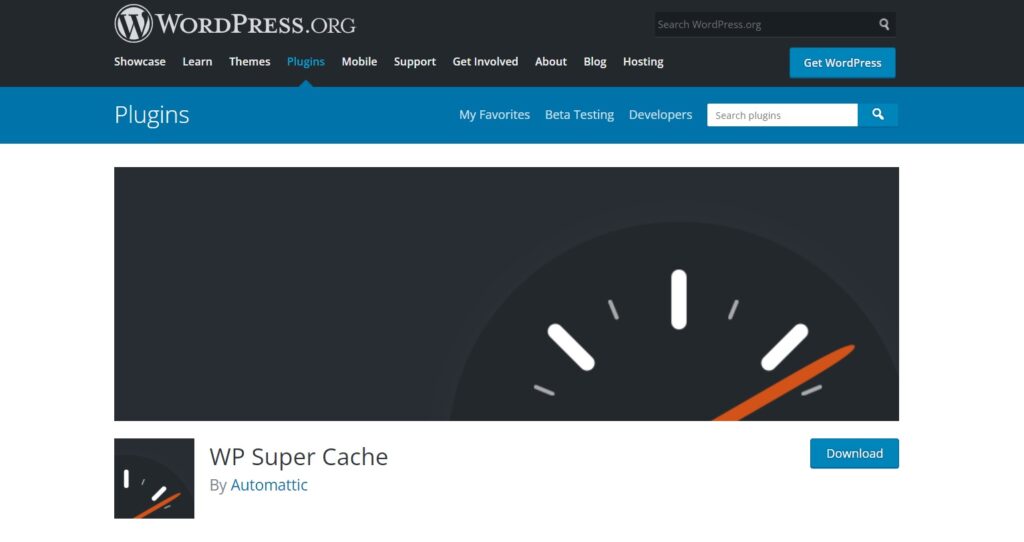
A caching plugin helps speed up the loading time of your WordPress website by storing a static version of its pages in the browser’s cache. This way, whenever someone revisits your site after already loading it before, they won’t have to wait for the page to load fully every time.
There are many tools out there. For example, WP Super Cache can also minify your pages and remove unnecessary whitespace to further improve the loading time.
Don’t forget to make use of additional WordPress plugins and tools that can help you improve your website. Decide which ones you will need.
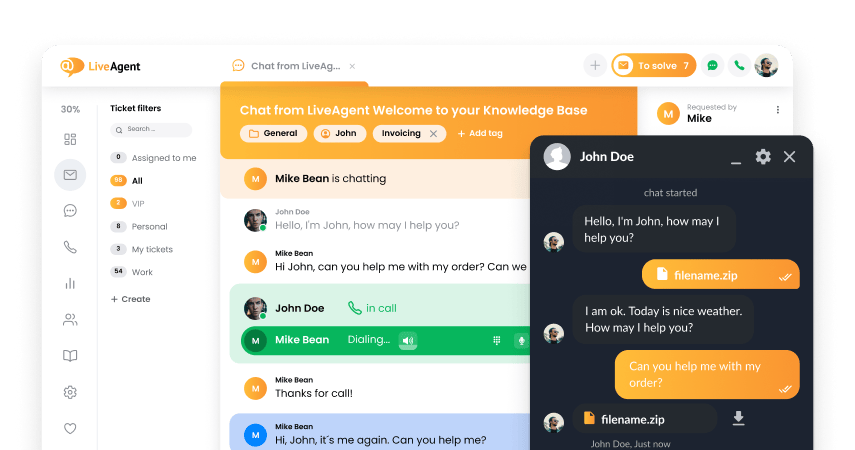
Take a closer look at LiveAgent. It’s a tool that can help you save a lot of time by integrating its solutions into your website. You can make use of its WordPress Live Chat plugin and implement (with a few simple steps) effective chat to your website.
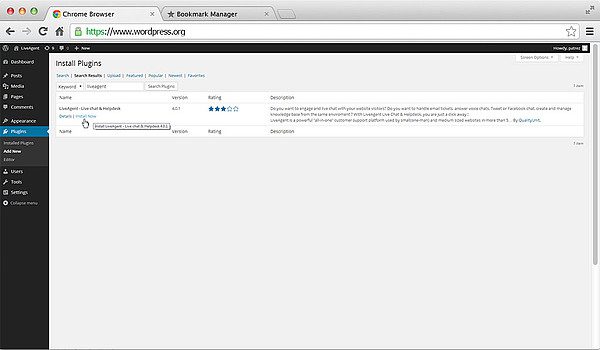
It’s free to try out. See how well it works for you without spending any money.
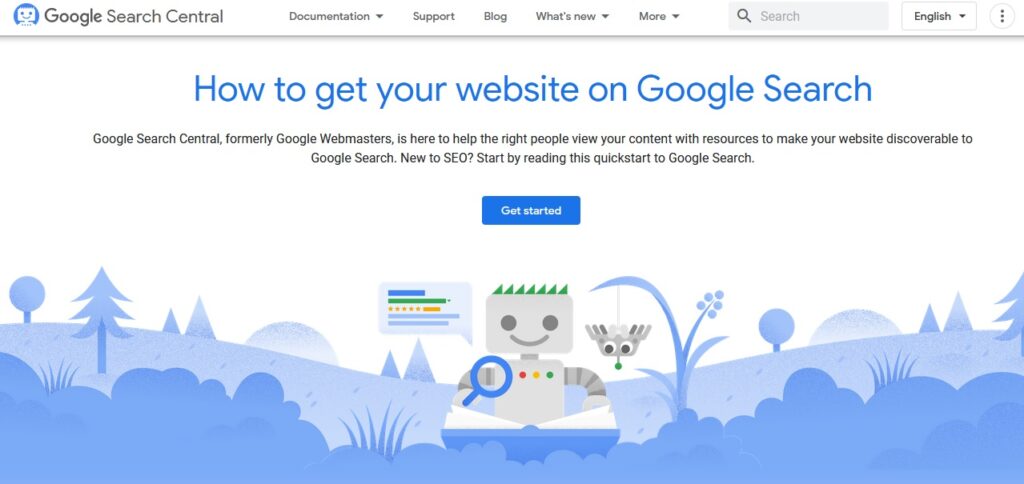
If you’re using Google Webmaster Tools, be sure to add your website before launch. This will help you monitor your website’s health and detect any potential issues.
Safety checkup
A secure connection is essential if you manage an online store or any other type of site where people provide personal information to make purchases. Check your website’s SSL connection with an SSL Checker.
If you are unsure whether your site has SSL enabled or not, contact the hosting provider that manages it. You may submit a request to get an SSL or you can take advantage of WordPress hosting platforms such as WPMU DEV which supply you with unlimited SSL certificates for all of your domains for free after signing up. Whichever hosting you decide, they should be able to tell you how to resolve the issue.
Once you have confirmed that your website has a valid SSL Certificate, the next step is to enable the secure connection (HTTPS) through your WordPress site’s settings. This can be done by installing and activating the Really Simple SSL plugin. It will take care of all the necessary changes to start using a secure connection.
If you don’t want to use a plugin or your hosting provider doesn’t allow it, you can install and activate the Force SSL option in Jetpack. This will redirect visitors from an unencrypted connection to a secured one (HTTPS).
Having a backup plugin installed and activated on WordPress is very important in case something goes wrong. It can automatically create new backups for your site when needed or manually whenever you click ‘Backup Now’ in the plugin’s menu.
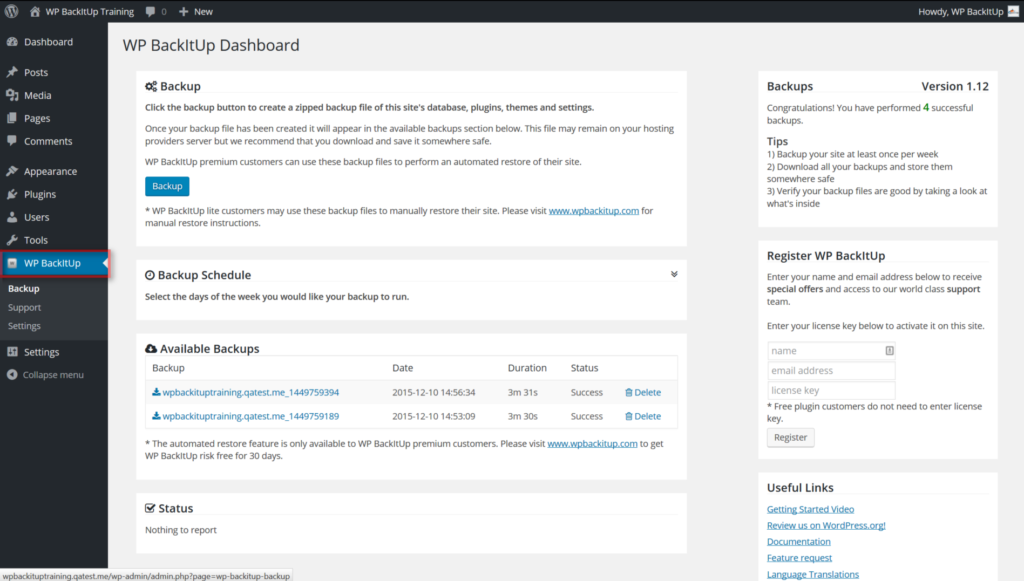
There are many backup plugins to choose from, both free and paid. BackWPup, WPBackItUp, and Duplicator are some of the most popular.
Activate an anti-spam plugin on your WordPress website. This will help protect it from spam comments, which can be a nuisance and damaging to your site’s reputation if they are left unchecked.
An attacker can try to gain access to your WordPress website by guessing different combinations of email addresses until they find the right one. That’s why it’s crucial to control the email address used to log in to your WordPress admin area.
You can do this by installing and activating the Limit Login Attempts plugin. This will add an extra layer of security to your website by blocking any IP addresses that have tried to access your site too many times with incorrect credentials.
This is a simple step that can protect your site from the start. Login protection locks down all accounts except “admin,” which prevents bots or scripts from trying to break into websites indiscriminately.
Go to Settings -> General in your WordPress dashboard and scroll down to the “Login Protection” section to activate login protection. Next, tick the box that says “Enable Login Protection” and save your changes.
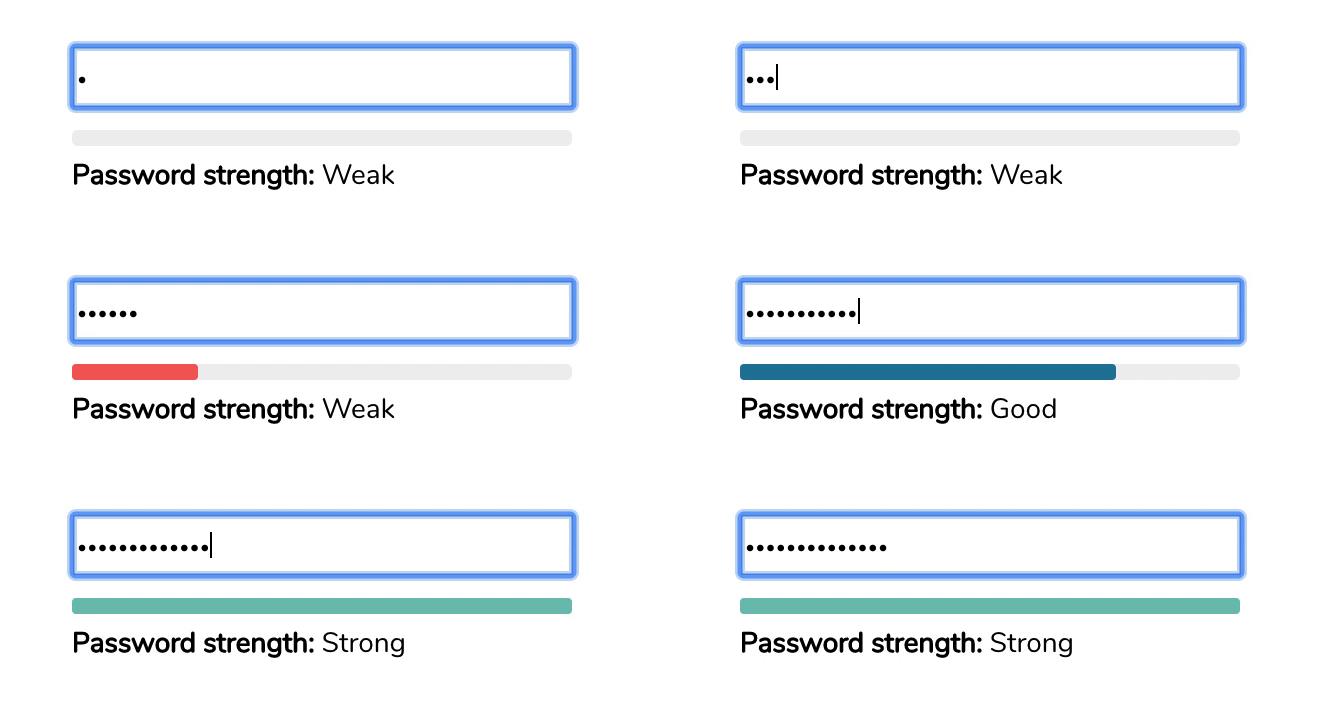
A strong password is a must for any WordPress site. The stronger your password the harder it will be for hackers to get in, so don’t use the default. A strong password should contain upper and lowercase letters, numbers, and special characters. Choose a random sequence of more than eight digits to maximize results.
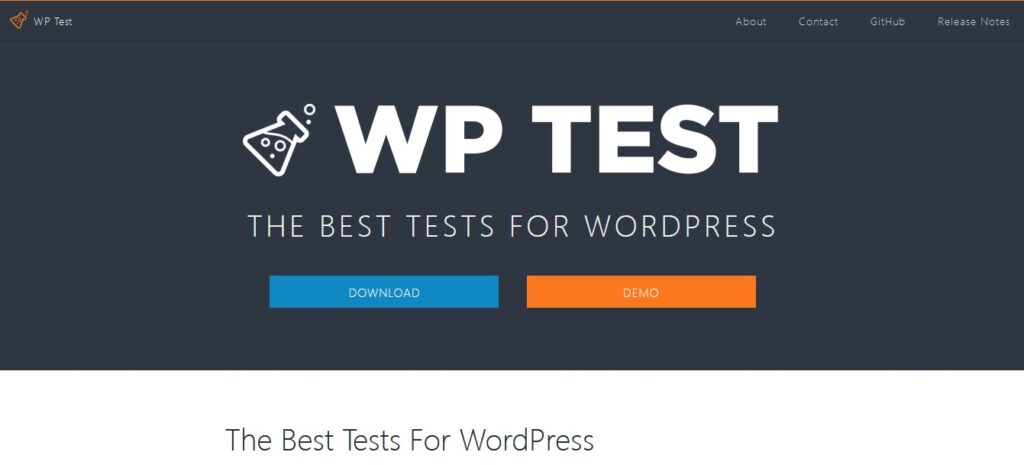
It’s always essential to ensure that the HTML and CSS code on your site is valid, otherwise, it can lead to display issues for specific browsers. To validate your HTML and CSS you can use the WPTest.io tool, which will check your code for errors and give you feedback on fixing them.
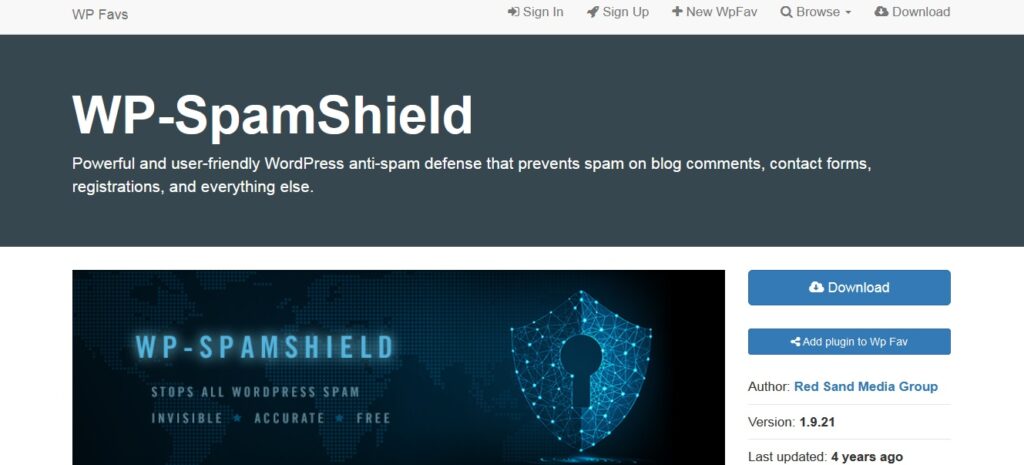
One of the dangers of launching a website is that it can quickly become a target for spammers. To protect your contact form from being abused, be sure to check all form submissions for spam. Several plugins are available to help you do this, such as Akismet and WP-Spam Shield.
Design and content checkup
One of the first things people will see when they visit your website is your logo. And, if you have a link to your homepage in the header, it’s one of the first things they’ll click on as well.
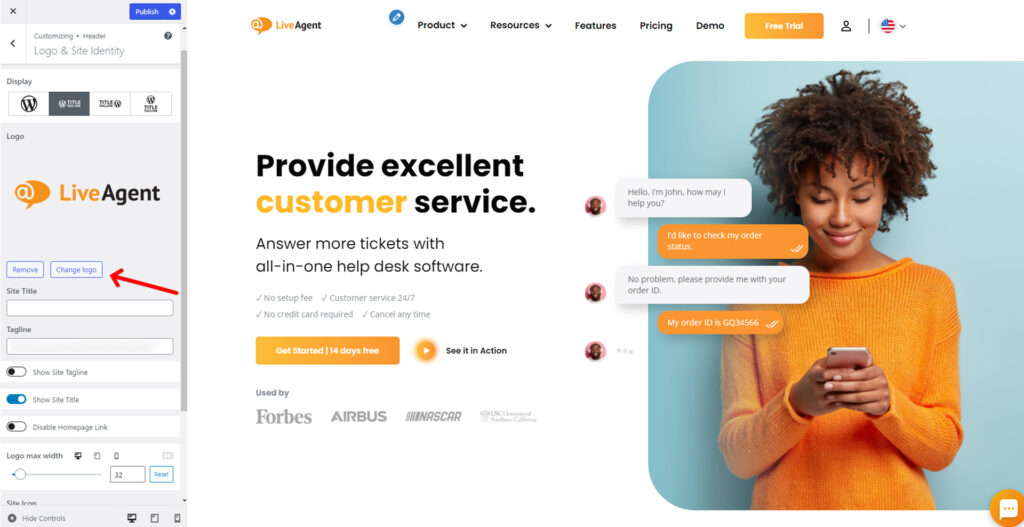
To make sure that this happens, go to Appearance -> Customize in your WordPress dashboard and scroll down to the “Header” section. Then, under the “Logo & Header Text” heading, tick the box that says “Link Logo to Homepage” and save your changes.
If you’re using contact forms on your website, it’s essential to ensure they are working correctly before launch. To do this, create a test form with some dummy data and submit it from different browsers and devices.
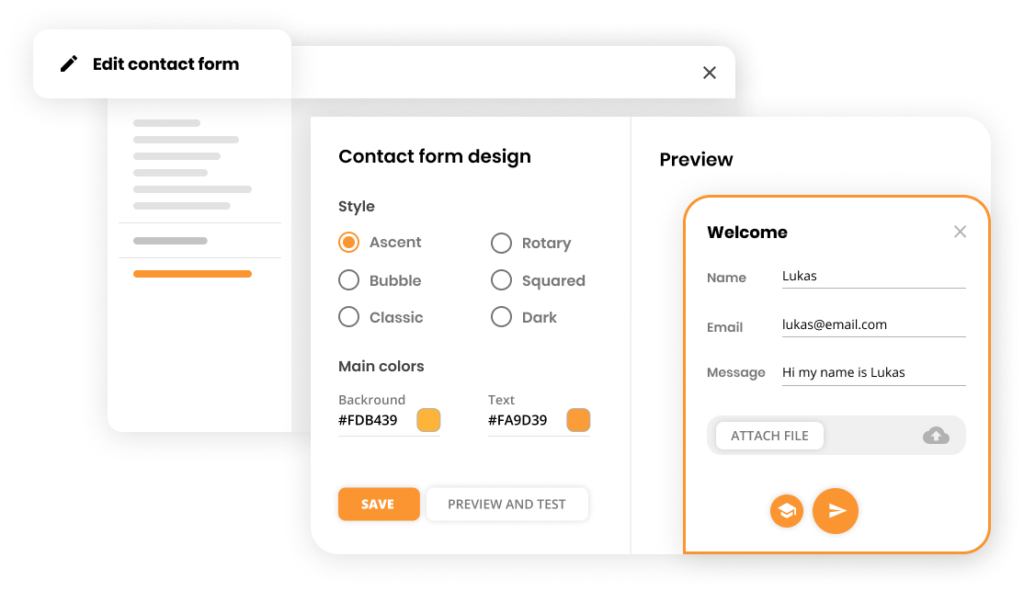
After you’ve tested your forms, the next step is to make sure they are sending submissions successfully. Once something is waiting in your inbox at the test email address, click on submissions in your form and confirm that they’ve been received. When you’re ready to launch, delete the test data from your forms and replace it with factual info.
If you’re using any autoresponders (such as those from AWeber or MailChimp), ensure they are set up and working correctly before launch. Create a test email campaign and send it to yourself. Then, check your inbox to see if the messages were delivered correctly.
If you’re using social media icons on your website, check that they are correctly sized and in the right places. You can add a new social media icon to each post by using the “Add Media” button on top of your editor.
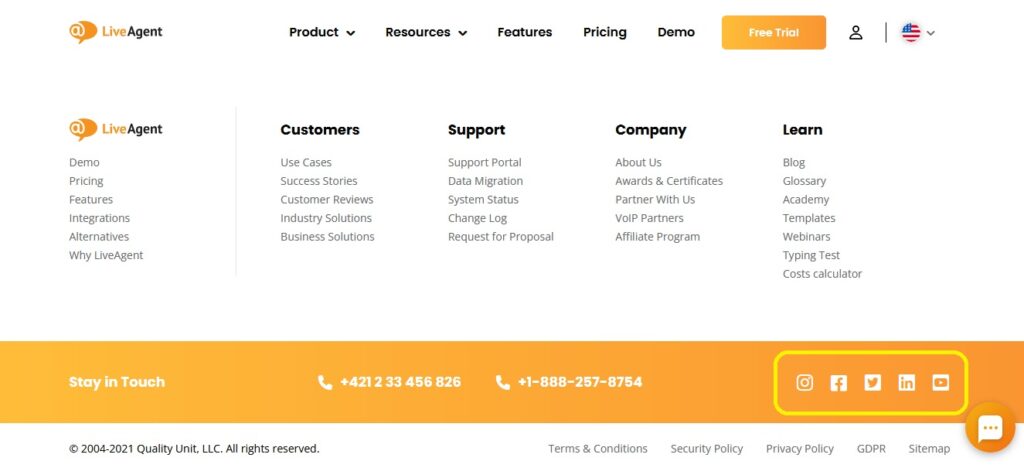
If you have a specific design for your website, make it match the look and feel of your social media channels. This will create a more cohesive branding experience for your audience.
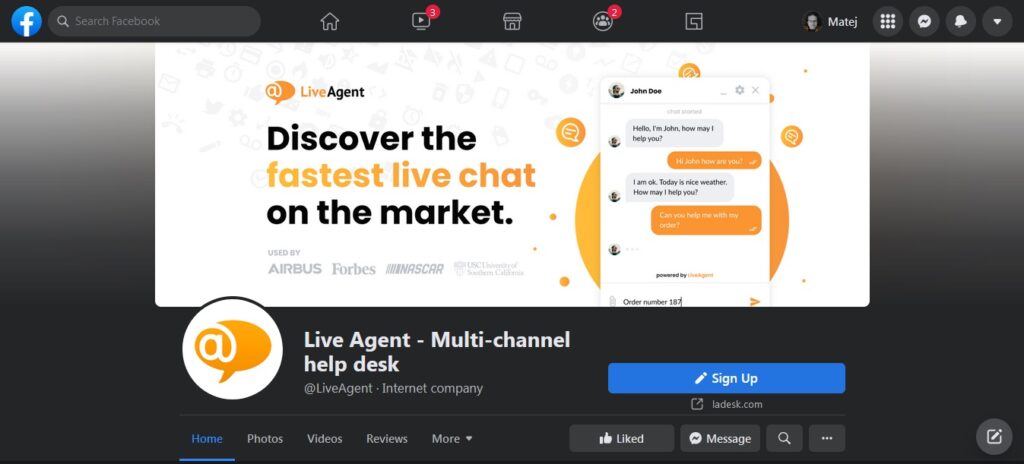
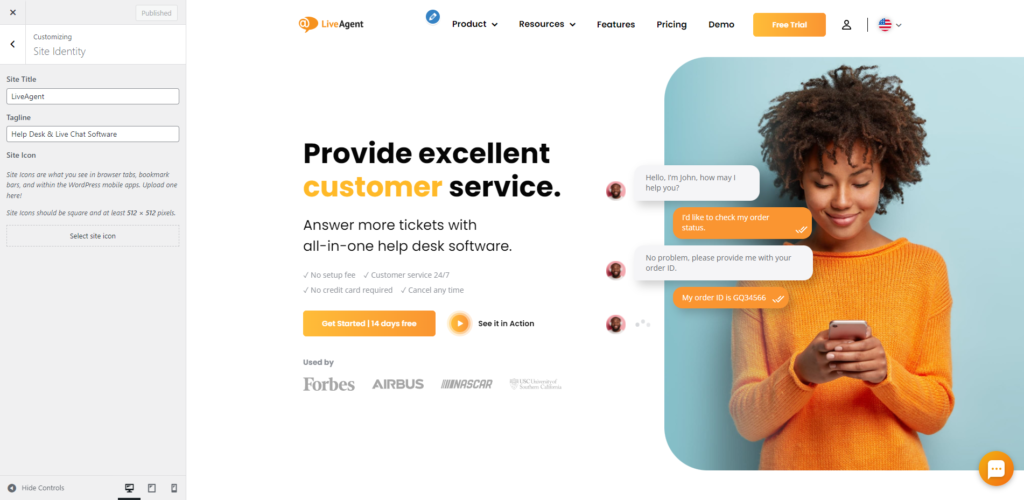
Favicons are small images that appear next to the URL in the browser tab, and they’re 16×16 pixels square.
To change your favicon, go into Appearance -> Customize in your WordPress dashboard, click on “Site Identity” under Site Title & Tagline and upload your chosen image.
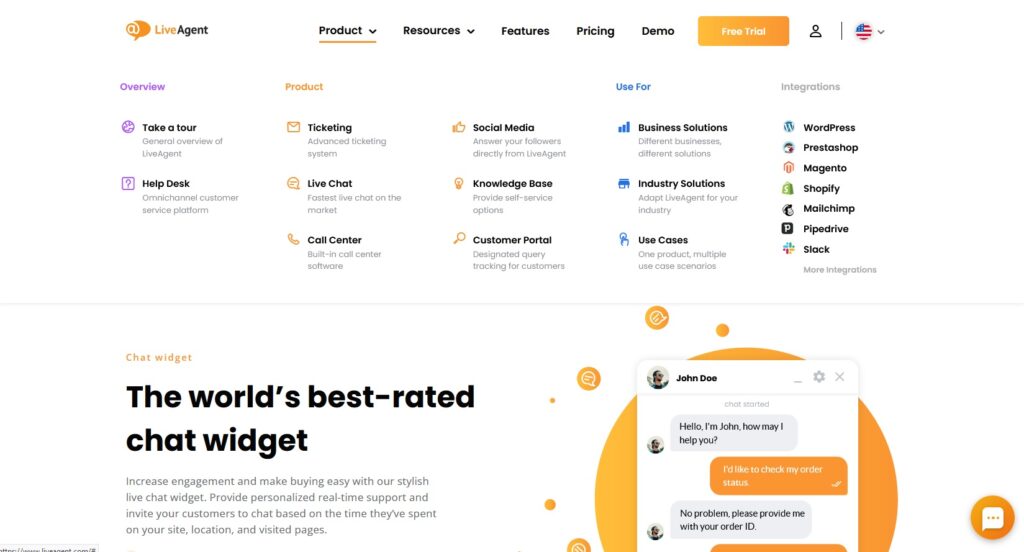
Before you launch your website, it’s a good idea to double-check all of the company details displayed on it. This includes everything from your contact information to your social media profiles. Ensure that all text is correct and up-to-date and that any images or logos are high quality and look professional.
If you’ve won any awards or received positive reviews from customers, be sure to list them on your website. This will help build trust and credibility with potential clients. You can add an award badge or review widget to your website by using a plugin like the WP Review Pro plugin.
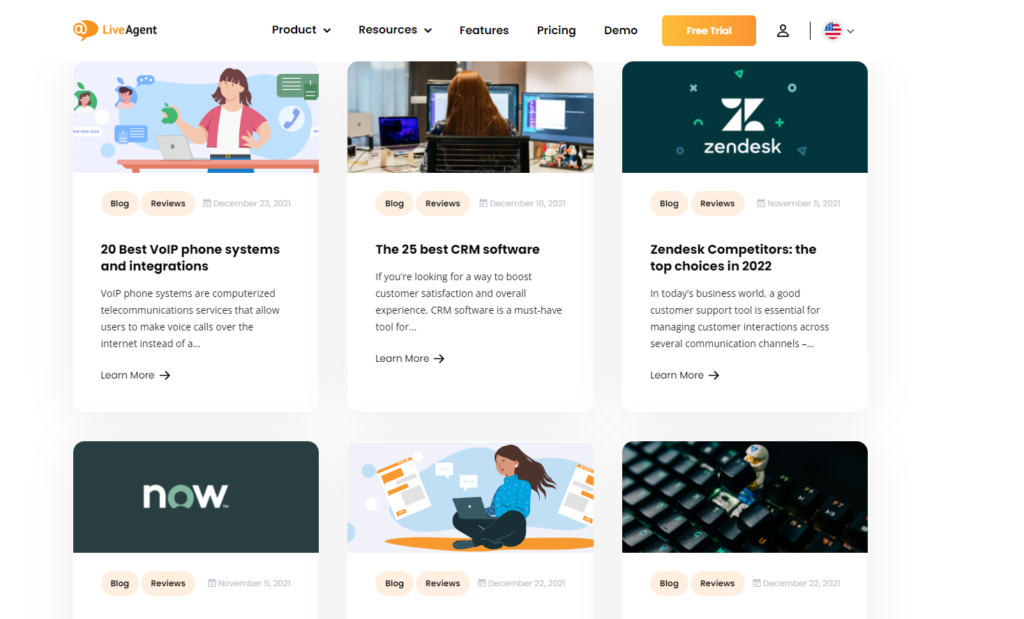
Check that all of your pages are appropriately linked and that the content is high quality and relevant to your target audience. Your visitors need to have a reason to stay on your website, so make sure that the content is exciting and valuable.
Before you launch your website, be sure to delete all dummy content (such as text or images).
Finally, don’t forget to proofread your website for grammar and spelling errors. Nothing looks worse than a website with typos and errors, so make sure it’s perfect before you launch.
If you’re using any copyrighted images or text on your website, be sure to include a copyright notice to protect you from any legal issues. It’s just as important to update copyright information as website content. If someone else created the site for you, they might have already added a note in the footer of every page to credit themselves.
If you have multimedia files on your website, be sure to add them. This will help keep people engaged. Be careful to optimize images before uploading because they can take a while to process.

When formatting text for a website, be sure to use headings and subheadings to break up the content. This will improve the readability. Use a table of contents to make your site easier for people who are skim reading and also help search engine bots find relevant content.
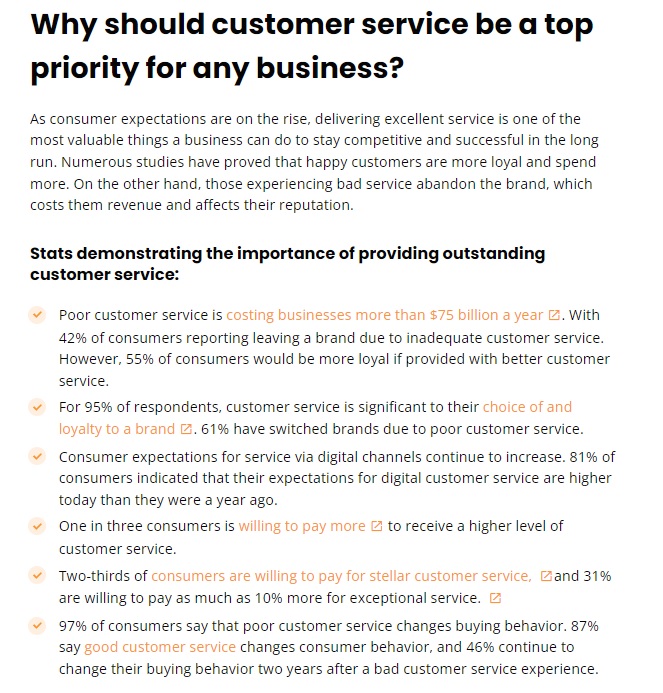
Formatting text makes it easy for readers to follow what you’re saying without having to read every single word on a page. Use subheadings and bold/italic text to highlight key points, plus lists where appropriate.
There’s no need to create a separate print stylesheet, just adjust your regular one. Make sure that it looks good both on the screen and in print. Use large fonts, plenty of white space (especially around your images), and consider choosing a larger typeface for the body text.
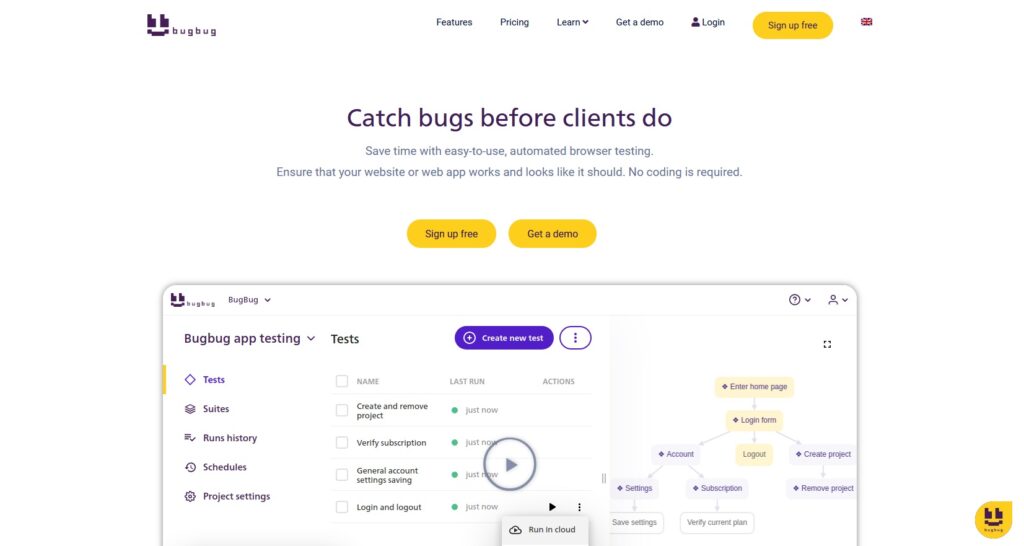
Remember to check for every broken link before you launch (they can be frustrating for your visitors). You can use a tool like BugBug to check for any links that don’t work correctly.
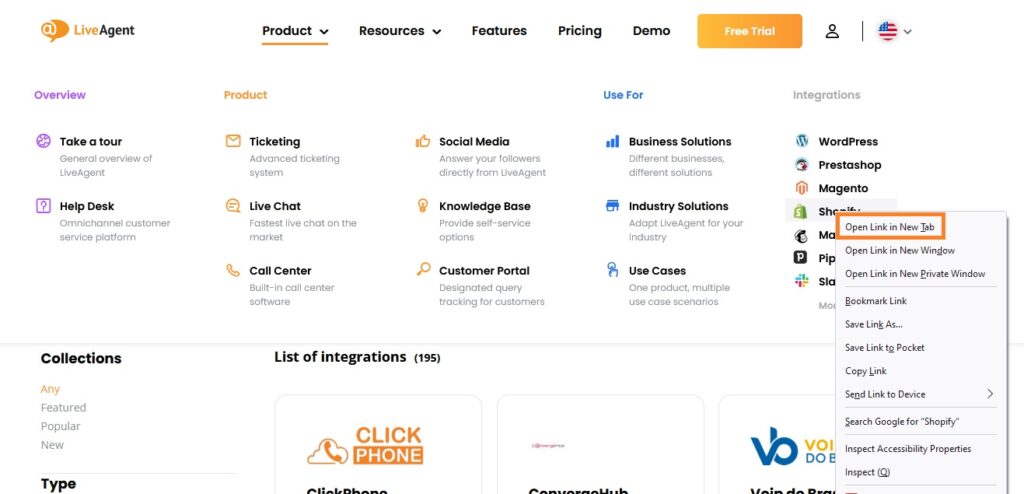
If you have links to external websites, set them to open in new tabs. This is a common practice that will help to avoid confusion and keep your visitors on your page. Be wary of any social share buttons, as they could potentially link out into a new tab as well.
If you’re providing downloadable files, be sure to include the correct extensions. For example, a PDF document should use .pdf as the extension. This will ensure that your visitors download a valid file.
An RSS feed is a way for website visitors to subscribe to your content in a standardized format. This will allow them to receive updates whenever you post new content on your website.
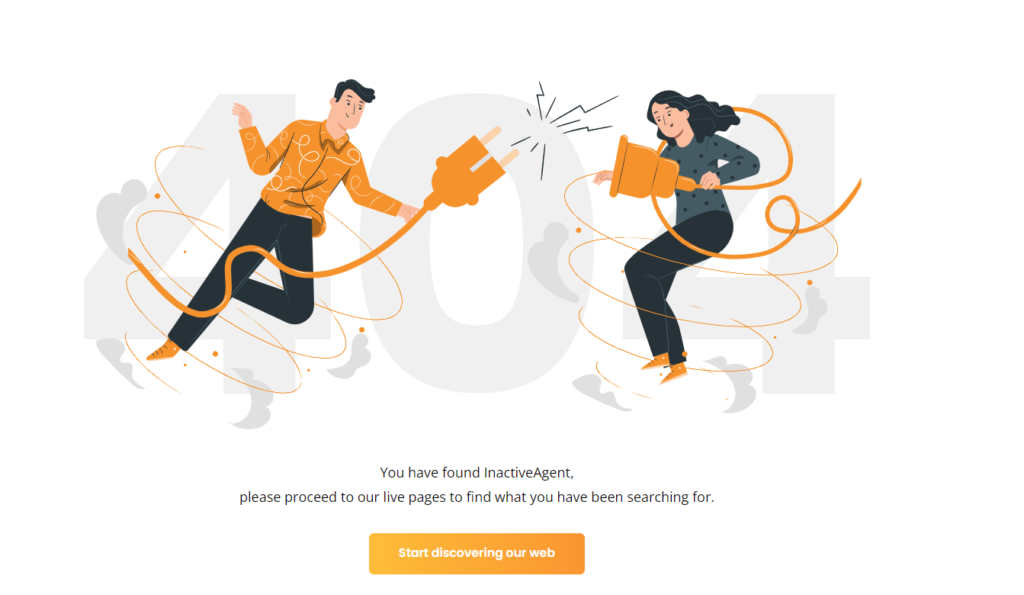
If visitors land on a page that doesn’t exist on your website, they’ll see a 404 error. Design a custom 404 error page so that visitors will have a fun experience when they encounter this situation, which will help with their frustration.
Pre-launch check-up
Don’t forget to test your website on every browser and device. This will help you catch any potential errors that may occur on different platforms and ensure a smooth launch.

If you’re using external tools or plugins, check that they are compatible with the latest version of WordPress. This will help you avoid any potential issues down the road.
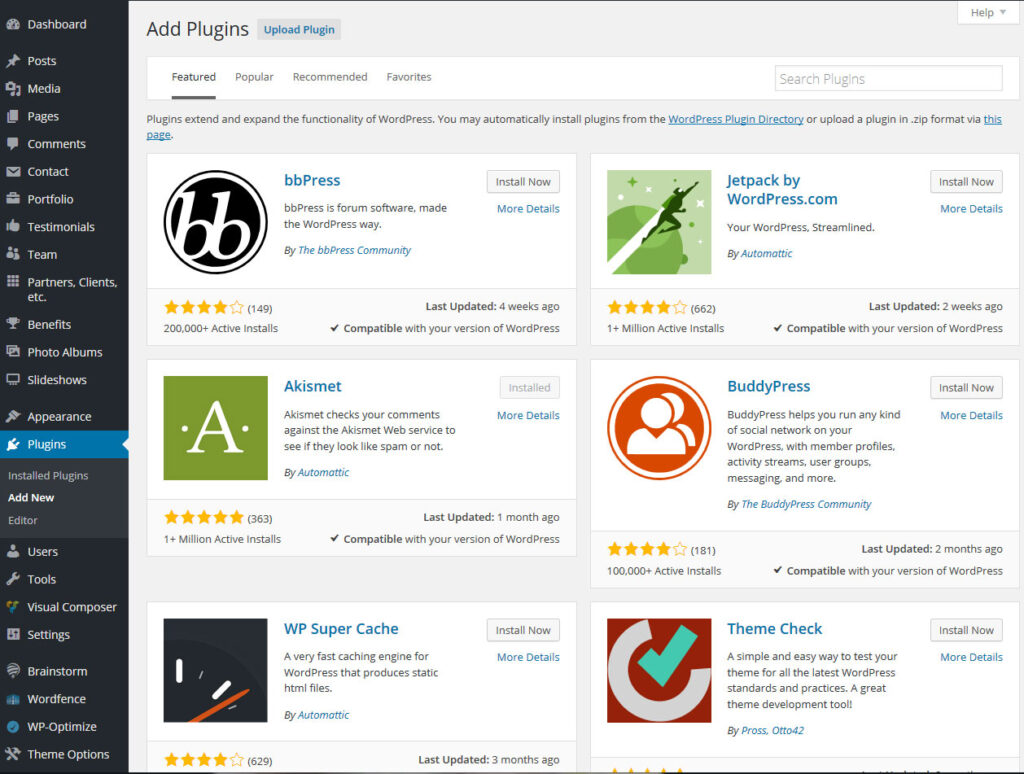
Check your email list for active subscribers. If you have an email marketing service, check the number of currently subscribed people. This will help you find out if a large audience might visit your new site.
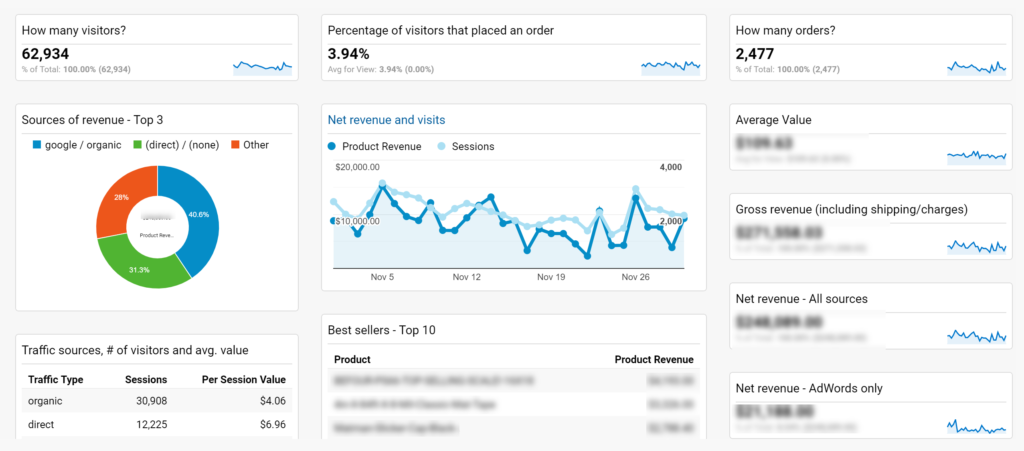
Google Analytics is a free tool that tracks website traffic and behavior. This will give you valuable insights into how your website is performing and help you to make necessary changes or adjustments.
Take advantage of your existing audience and their followers. Create a short, engaging post that focuses on the benefits of reading your blog posts. Keep it simple and promote it with images or videos, utilizing social media customer service software to streamline your post promotion and enhance audience engagement.
Include a link to your website, and make sure to use appropriate hashtags. Don’t forget to notify website visitors of new content/blog posts via email marketing campaigns.
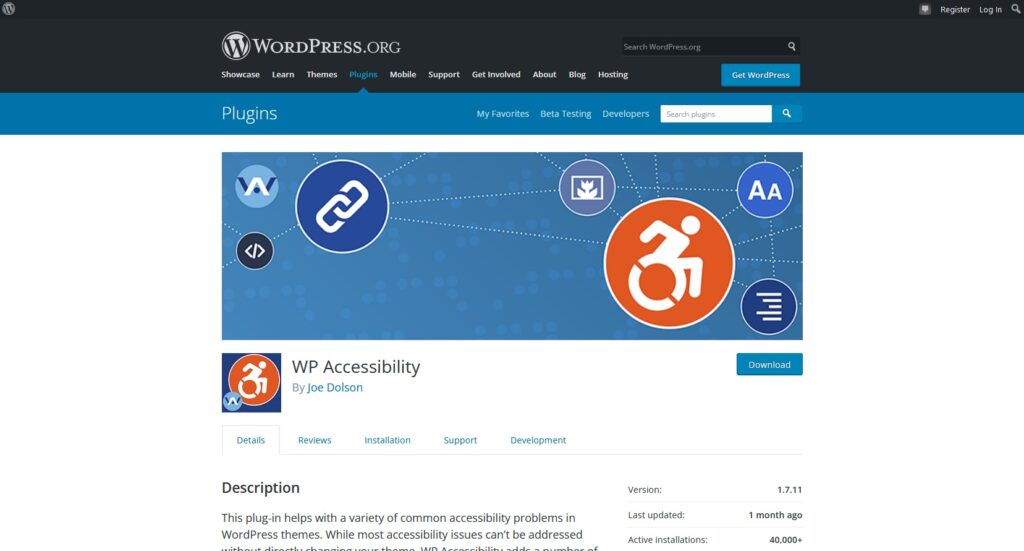
Before you launch, make sure your website is accessible to everyone. WordPress has many plugins you can use for this like WP Accessibility, for example, which is easy to install and will help everyone navigate through your blog post content (and improve the user experience).
And that’s it – you’re ready to go! Be sure to monitor your website traffic and Google Analytics data to make necessary changes/adjustments. Launching a WordPress website can be daunting, but following this checklist will help ensure it goes smoothly. Wishing you the best of luck in your new endeavor!
Summary of the WordPress website launch checklist
Tech check-up:
- Obtain a license
- Respect your privacy policy
- URL format
- Set up the timezone
- Attach terms and conditions
- Enable a cookie warning
- Follow any additional local requirements
- Delete old, inactive files and surplus plugins
- Test the responsiveness
- Review your mobile rating
- Connect an email provider
- Watch the loading time
- Test site speed and performance
- Activate caching plugin
- Integrate website with other tools such as LiveAgent
- Add your website to Google Webmaster Tools
Safety checkup:
- Activate the SSL Certificate
- Enable HTTPS
- Turn on a backup plugin
- Install anti-spam
- Control the admin email address
- Activate login protection
- Create a strong password
- Validate HTML and CSS
- Update plugins
- Check form entries for spam
Design and content checkup:
- Link header logo to the homepage
- Set and test contact forms
- Confirm form submissions
- Test autoresponders
- Place and check social icons
- Integrate design with social media channels
- Don’t forget about favicons
- Double-check all company details
- Add awards and reviews
- Content checkup
- Delete dummy content
- Proofread grammar and spelling
- Include a copyright notice
- Add relevant multimedia files: video, audio, images
- Format the text
- Create print page design
- Detect any broken links
- Open external links in a new tab
- Check files for download
- Create an RSS feed
- Design a 404 page
Pre-launch check-up:
- Test your website on every browser and device
- Check external tools functionality
- Check newsletter signup list
- Turn on tracking with Google Analytics
- Launch announcement social post
- Check accessibility
Frequently Asked Questions
How do I share my WordPress site before launching?
If you plan on making an announcement before launching, consider scheduling a post in advance and creating a lead magnet for those who follow your newsletter. Once it’s time to go live, create another post with directions where people can find you.
How to remove the 'just another WordPress site' tagline?
You can remove the ‘just another WordPress site tagline’ at any time by going to ‘Appearance’ and then selecting ‘Widgets’. Next, locate the widget area on your page where you want the text to be removed, select it, and hit ‘delete’.
Can you edit a WordPress site after launch?
Yes, you can always change your WordPress site. However, it’s best to make any changes after your site has been live for a while. This allows you to test it properly.
How long does it take to launch a WordPress site?
This is a difficult question to answer. The time it takes to launch your site depends on the size and complexity of the project and how quickly you can make decisions about features and design elements.
How long does it take for WordPress to launch the site?
WordPress will launch your site as soon as it is ready. There is no set time that this takes, but you should receive an email notification when the site is live.
The new website launch checklist
Launch your website seamlessly with our comprehensive checklist. From goals to compliance, cover all essential steps for success!
SEO checklist for new websites
Boost your website's ranking with this 2024 SEO checklist! Step-by-step tips on keywords, domains, mobile-friendliness & more. Start now!"
You will be
in Good Hands!
Join our community of happy clients and provide excellent customer support with LiveAgent.

Our website uses cookies. By continuing we assume your permission to deploy cookies as detailed in our privacy and cookies policy.
- How to achieve your business goals with LiveAgent
- Tour of the LiveAgent so you can get an idea of how it works
- Answers to any questions you may have about LiveAgent

 Български
  Čeština
  Dansk
Dansk  Deutsch
  Eesti
Eesti  Español
  Français
  Ελληνικα
  Hrvatski
  Italiano
  Latviešu
  Lietuviškai
  Magyar
  Nederlands
  Norsk bokmål
  Polski
  Română
  Русский
  Slovenčina
  Slovenščina
  简体中文
简体中文  Tagalog
  Tiếng Việt
  العربية
  Português


