Key takeaways
Pros
- User-friendly and intuitive interface
- Affordable pricing
- Accessible and easy-to-use features
Cons
- No preview on different devices
Getting started with LiveAgent
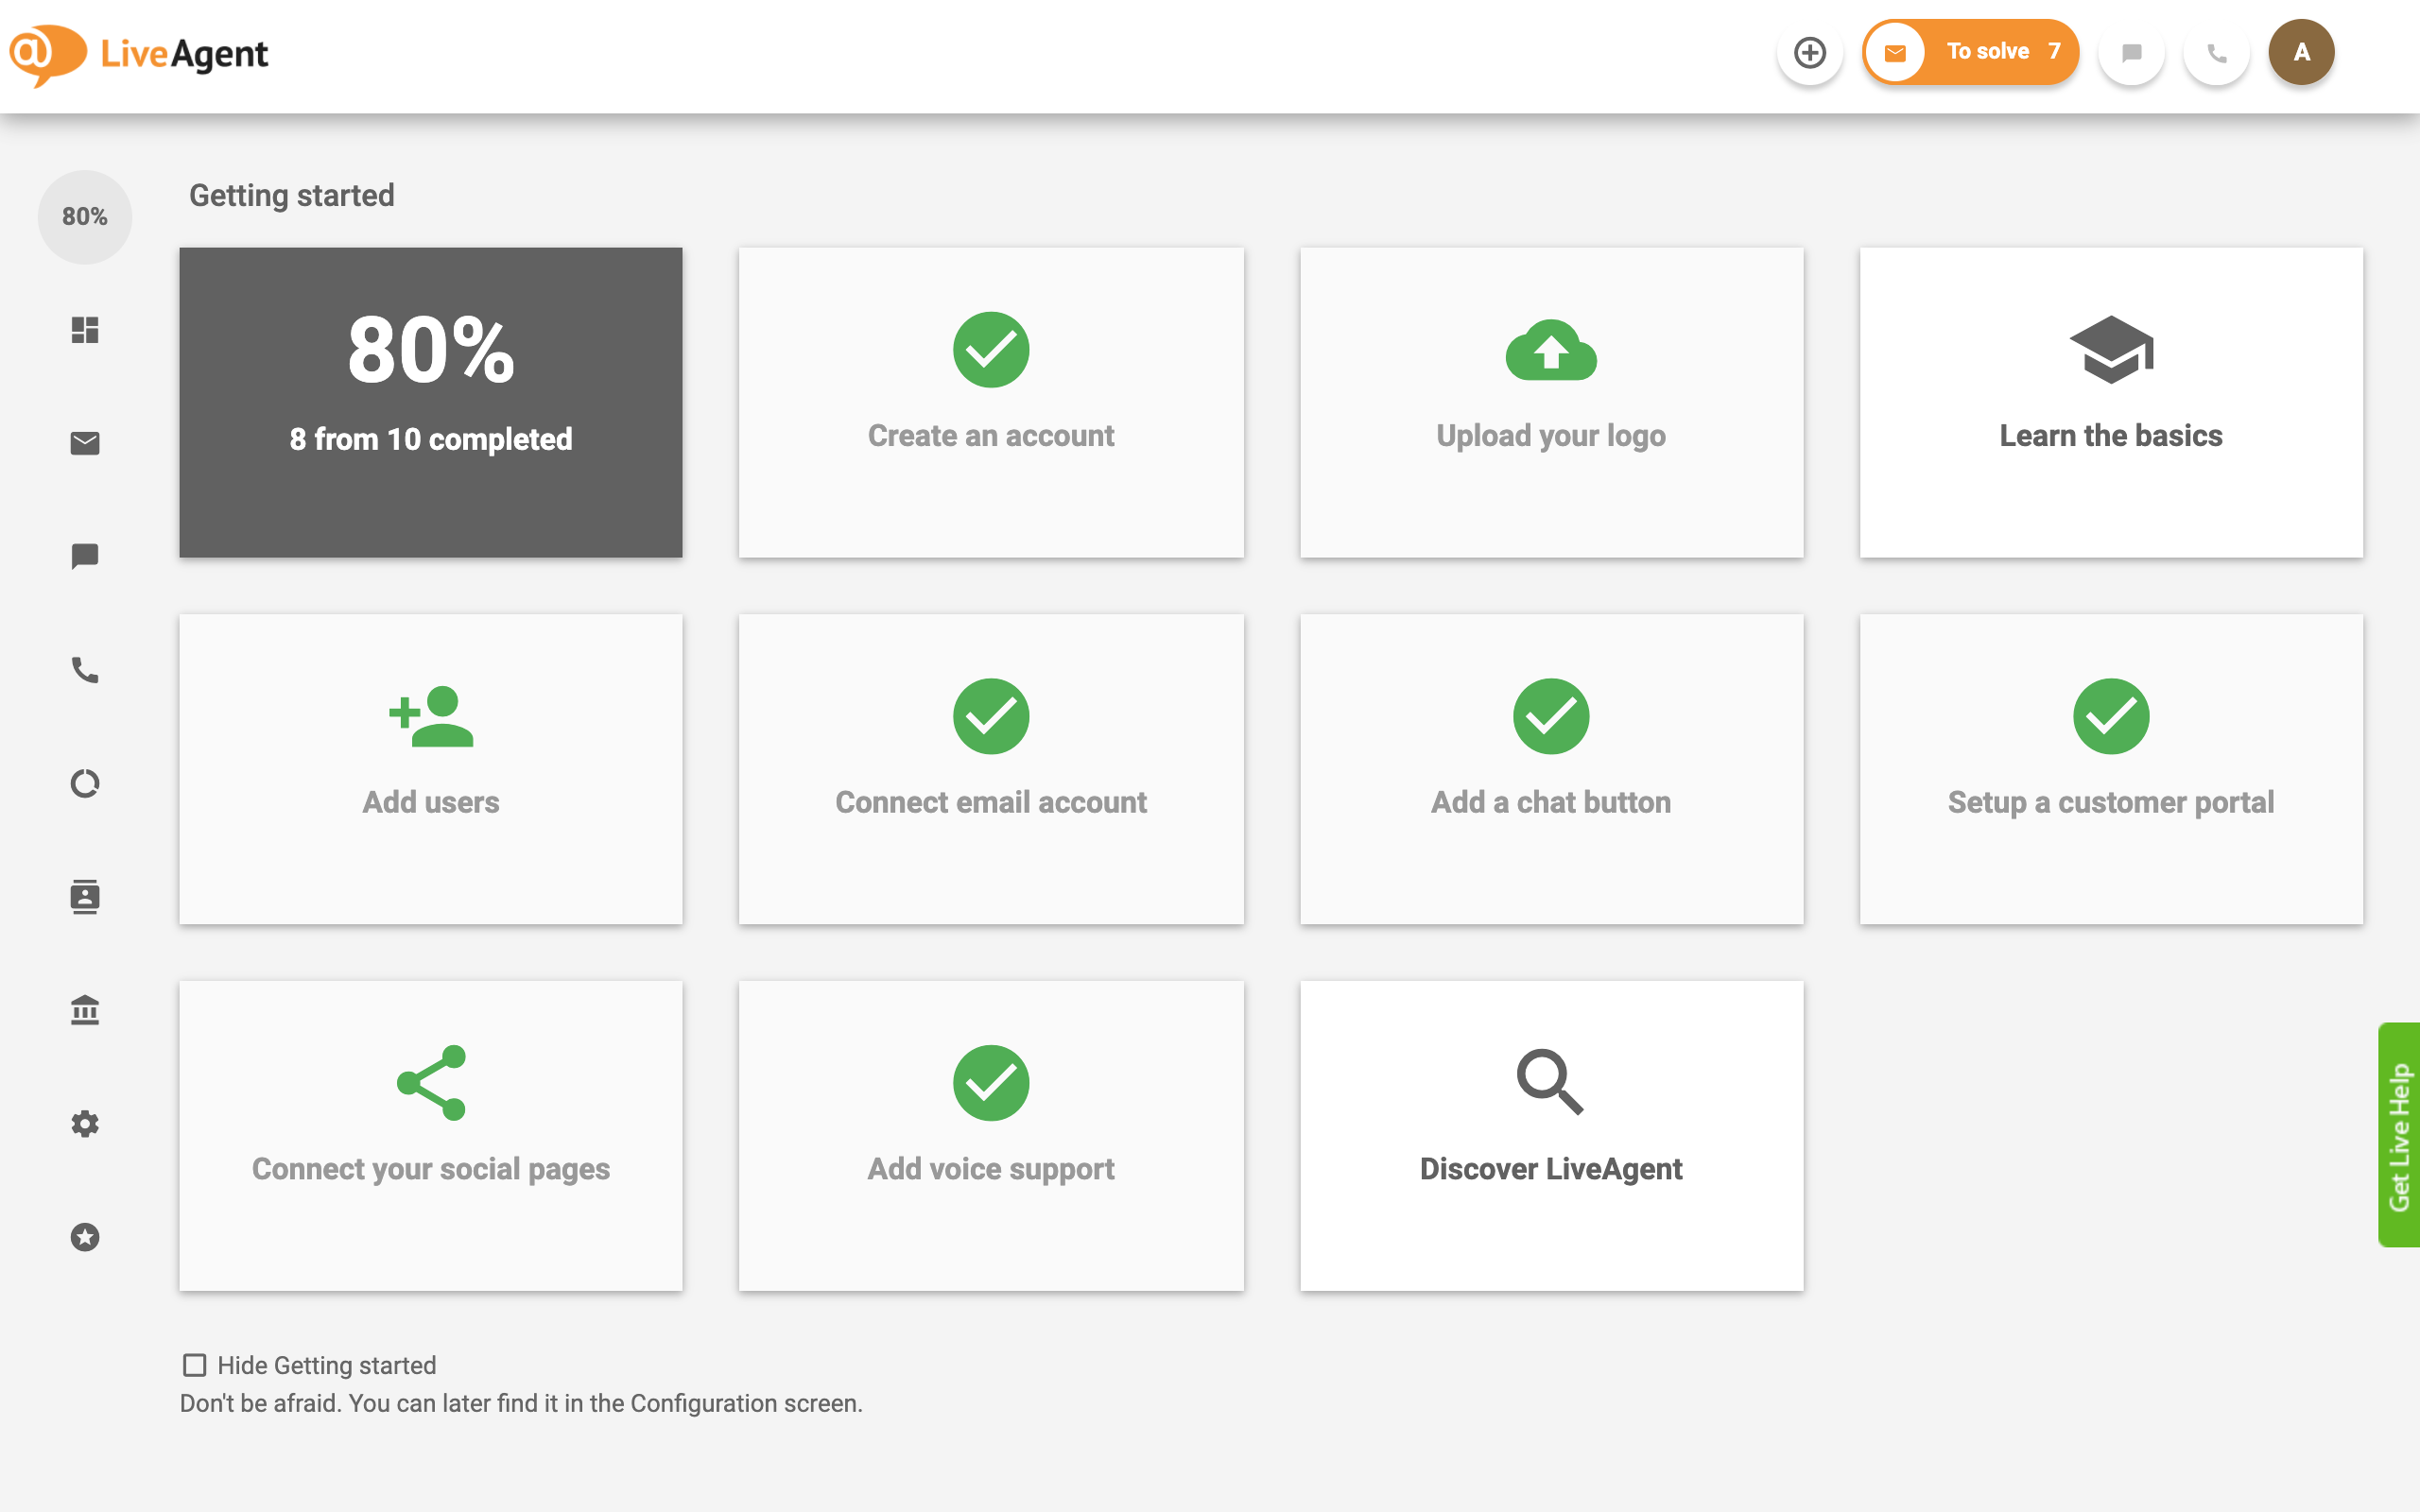
Creating a free trial with LiveAgent is a simple task. All you need to do is fill out the details on the sign-up form and wait a few moments for your account to be set up. Once it is ready, you can access the Getting started page.
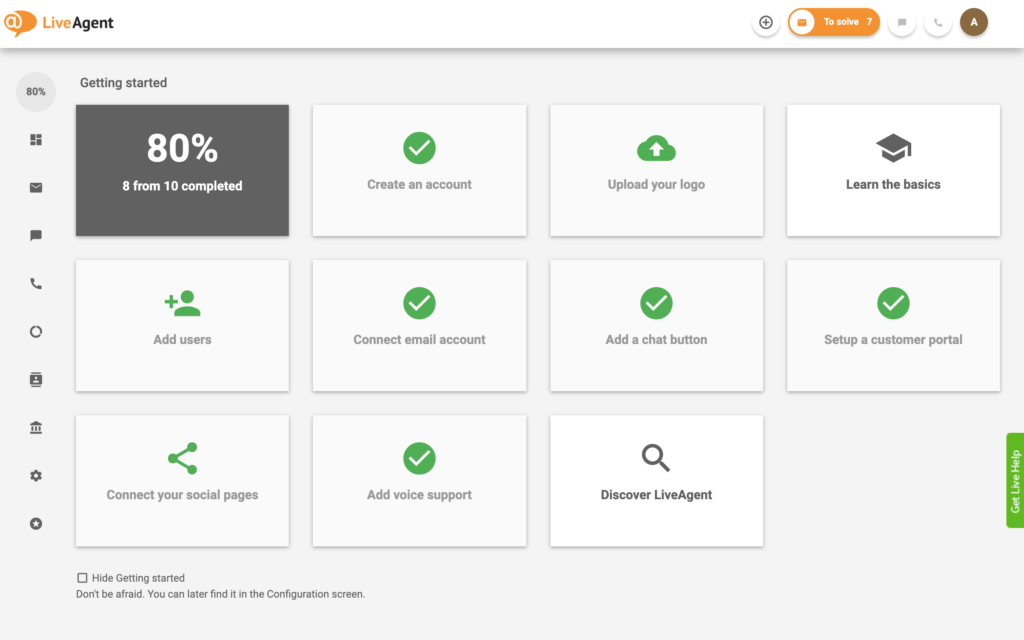
This page acts as a tutorial or a tour you can take to get acquainted with the basic functionalities of the software. I chose to skip it, but you can always come back to it later.
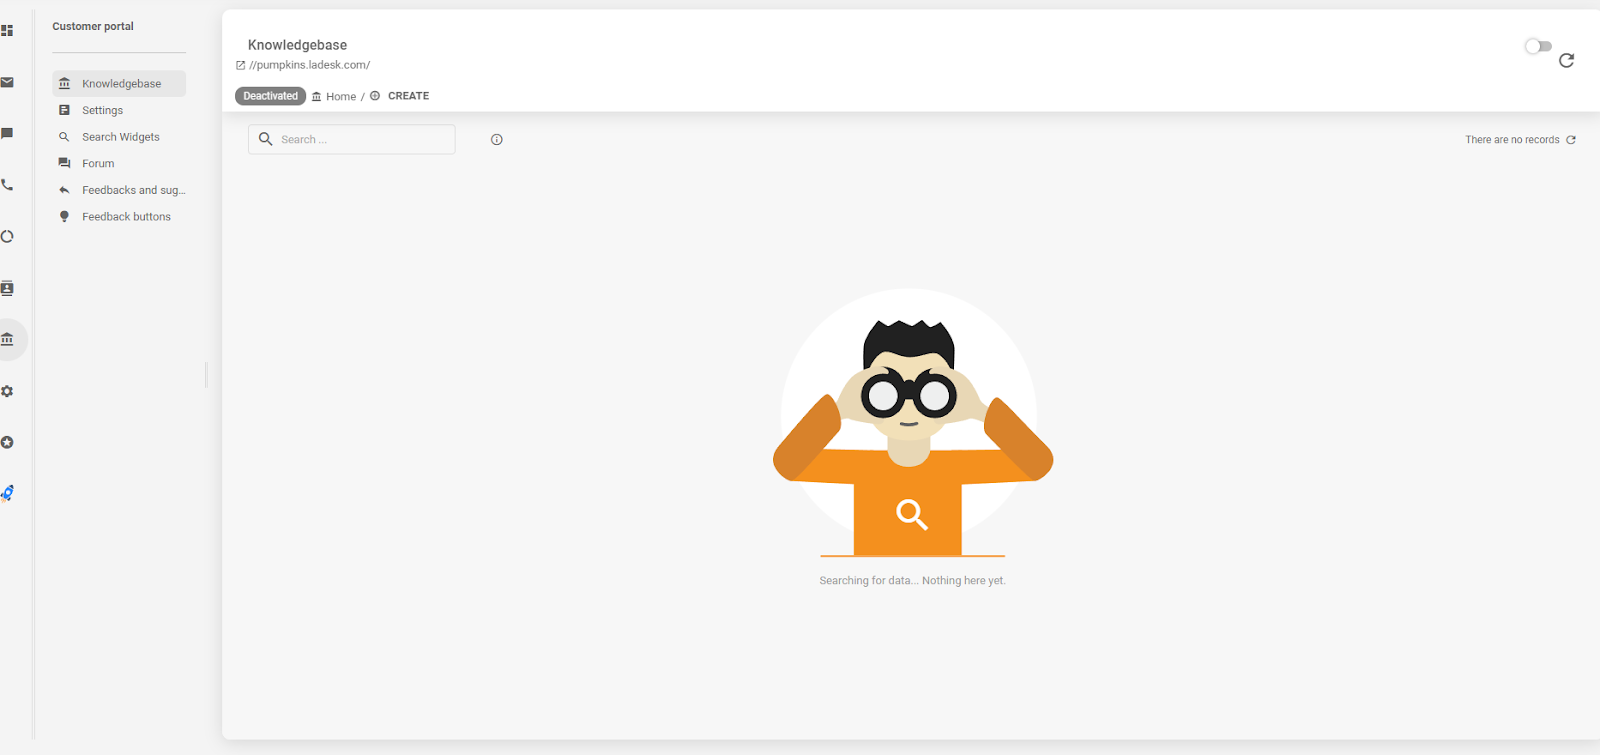
To start working on your knowledge base, go to the Customer portal you can find in the panel on your left.
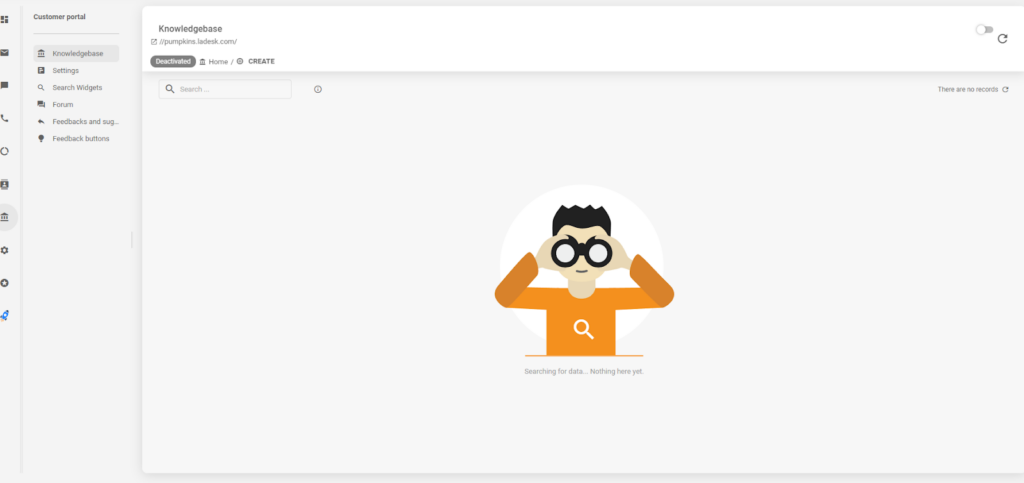
From there, it takes you to a clean-looking interface where you can add and manage all elements of your customer portal.
The Customer portal tab offers a menu containing knowledge base articles, forums, feedback, suggestions, and even manage my feedback buttons.
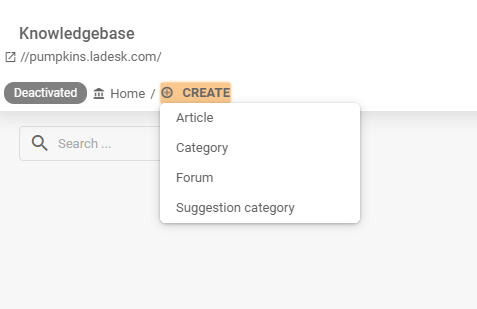
I had a quick look around, and then I was ready to start writing my knowledge base article. In the Knowledgebase tab in the Customer portal menu, you’ll find a + Create button. A drop-down menu gives you options to write an article, or create a new category, forum, or suggestion category.
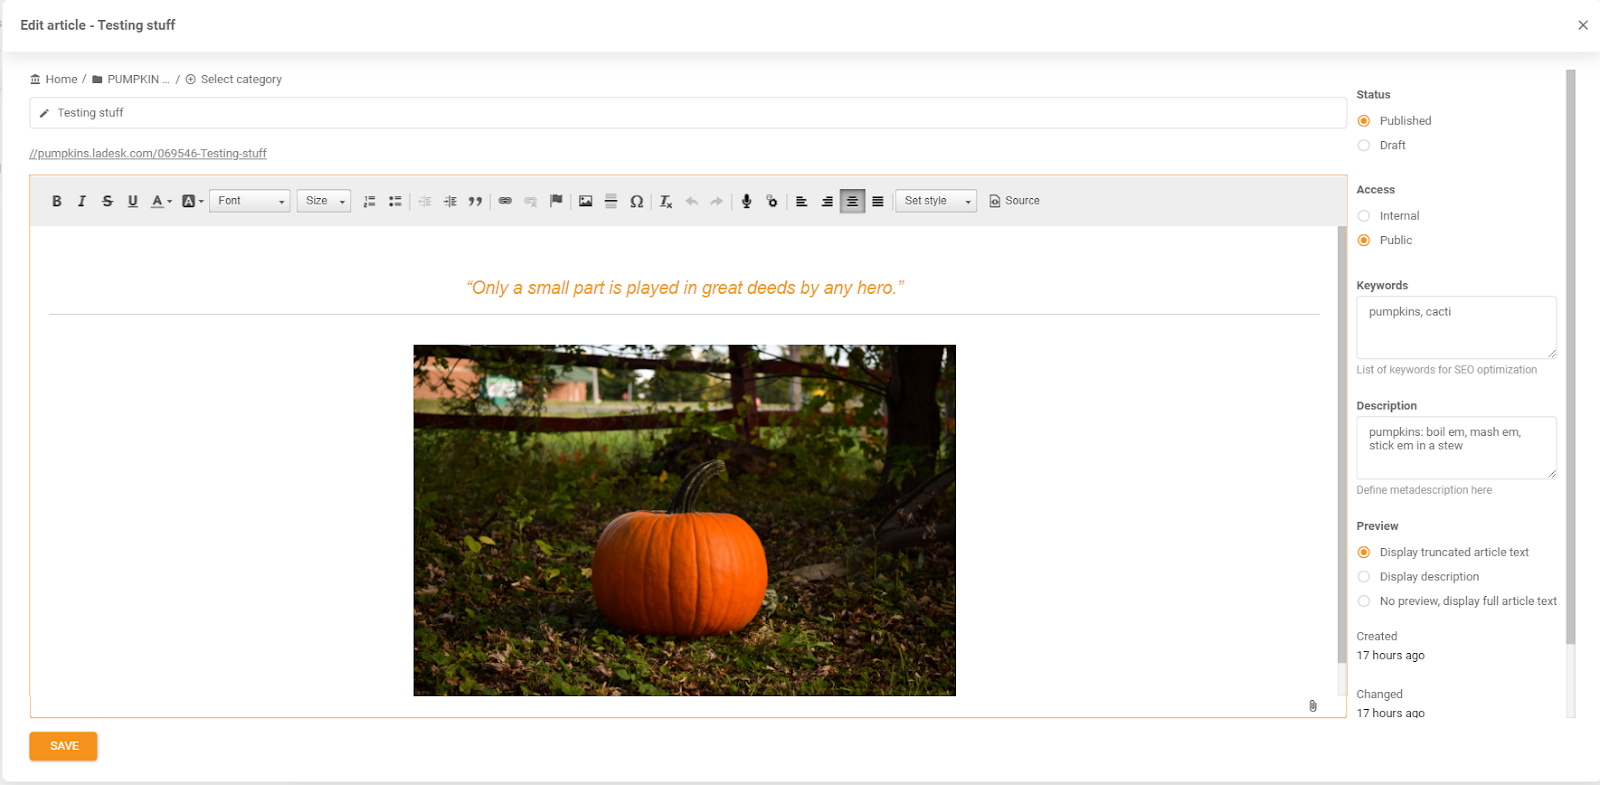
I opted for the first option, which took me directly to a knowledge base editor. Right off the bat, you can see that the whole UI is functional yet simple and accessible. I didn’t need to read support articles or spend a long time trying to figure out what I was supposed to do.
Everything is laid out with the user at the forethought. Even the Title box is yelling at you so you don’t forget to fill it out.

On the right, you can see the status, whether the article is available publicly or internally, and you can add keywords, a description, and so on.
I played around with it for a little customizing text and adding images, and then I was ready to publish my finished work.
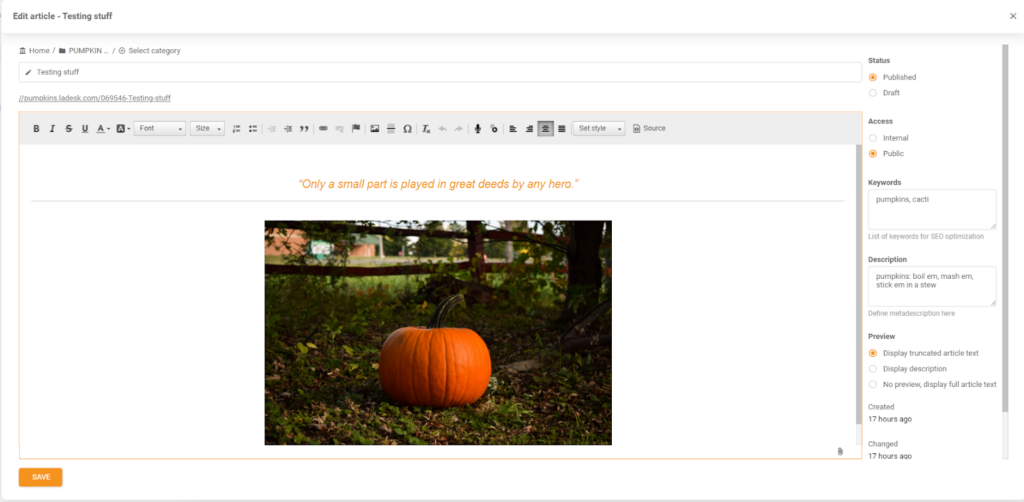
You can publish the article immediately or you can save it as a draft. I decided to publish mine, eager to see what it looks like out in the wild.
To view the article I’ve just created, I clicked on the link right under the title bar, and I was able to see what my pumpkin-filled knowledge base article looks like to an outside visitor.

User experience and features
You can run LiveAgent on virtually all common browsers, including Microsoft Edge, Google Chrome, Firefox, Safari, and Opera. I used Google Chrome, and the experience was smooth without any delays or lags. In a nutshell, my experience with LiveAgent’s software was very smooth. Besides the initial setup taking about a minute, everything was very reactive without long loading times.
With this knowledge base software, you can customize and adjust virtually anything. Using the Design tab, you can choose from different themes which you can later customize so the page fits your branding.
With LiveAgent’s knowledge base, you’re looking at a very accessible design that clearly keeps an end user at the forefront. You don’t have to be tech-savvy to easily navigate it and use all of the functionalities it offers. Everything you need to use is included in the editor, so you don’t have to look around too much.
Adding and adjusting images is also super simple. All you need to do is upload the image and customize it to your liking. You can adjust only the basic settings, or delve into advanced options if you feel adventurous.
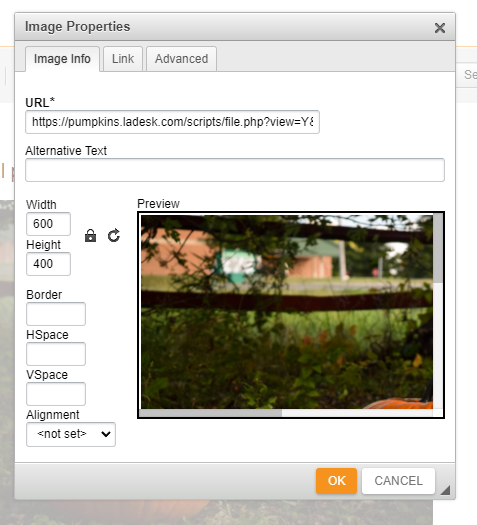
A great little feature is the alternative text bar. It lets you add alternative text to images from the get-go. It not only helps with your SEO efforts, but you don’t have to come back to it and edit the image after your article is already published.
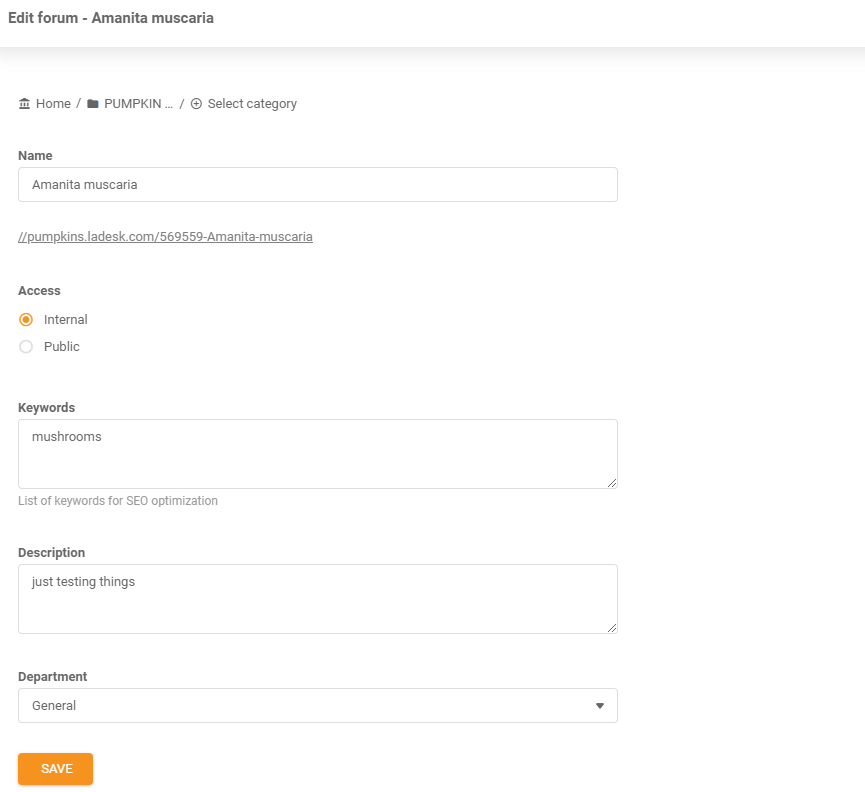
Setting up forums is just as easy as writing an article. It’s a great option if you want to connect with your website visitors and open a direct communication channel not only between you and them, but between all of your audience.
I need to say that I missed an option to preview my knowledge base on multiple devices. I would’ve loved to see the layout on mobile devices before publishing the article.
Overall, the UI is quite intuitive, so you probably won’t need to read much support documentation to find your way around it. However, if you need a helping hand, LiveAgent’s support portal with their own knowledge base is very easy to find and it’s full of helpful articles.
Pricing
LiveAgent offers subscription-based pricing, so it’s easy to scale up and down according to your business needs.
Free
This tier is completely free of charge. It includes a limited set of features like 7-day ticket history, a chat button, basic reporting, and a few more.
Small
This $15 per agent/month package includes extended versions of all the features you can find in the free version, plus more. The most notable are unlimited ticket history, integrations using API, white-glove setup, and time rules, among others.
Medium
For $29 per agent/month, this subscription tier lets you use all the features from previous packages and more. The most notable additions are unlimited chat buttons, feedback management, time tracking, social networks, and real-time visitor monitoring.
Large
LiveAgent’s most popular subscription package costs $49 per agent/month. On top of all the features from previous tiers, it lets you set up your own call center with IVR, video calls, unlimited call recording, call routing, transfers, and much more.
Conclusion
LiveAgent’s knowledge base is, in my opinion, an excellent option for everybody who’s looking for a platform that allows them to create a professional-looking knowledge base without much hassle. Their user-friendly interface is incredibly easy to use. All the functionalities you need are neatly laid out where you can find them. Another thing to point out is that LiveAgent’s software doesn’t contain any bugs, as far as I can tell, and isn’t laggy at all. Therefore, you don’t have to worry about your work being interrupted by such inconveniences.
All in all, this is an amazing option for everybody who needs a user-friendly solution with all the basic and advanced features to create an engaging customer portal with knowledge base articles and forums.
Frequently Asked Questions
I can’t change the default header and footer in my customer portal theme.
Go to Design, and click on Own HTML. There, you can insert an HTML code and adjust the header and footer in your customer portal. You can watch a detailed video tutorial on how to change the header and footer in the Montana theme.
I’m using a different date and time format from the one displayed in my knowledge base articles.
Within the Language metadata tab of the Edit language window, you can change the date & time format for a given language

 Български
  Čeština
  Dansk
Dansk  Deutsch
  Eesti
Eesti  Español
  Français
  Ελληνικα
  Hrvatski
  Italiano
  Latviešu
  Lietuviškai
  Magyar
  Nederlands
  Norsk bokmål
  Polski
  Română
  Русский
  Slovenčina
  Slovenščina
  简体中文
简体中文  Tagalog
  Tiếng Việt
  العربية
  Português
